


In Greece, yogurt isn’t just food. It’s a tradition, a memory, a way of life.For generations, Greek families—especially in the villages and on the islands—have been making their own yogurt at home. It was (and still is) part of everyday life.
Grandmothers would wake up early to heat the milk, gently stir in a spoonful from the previous batch, and carefully wrap the bowl in a towel to keep warm. Hours later, a thick, velvety yogurt would emerge—rich with flavor, free of additives, and made with love.
Even today, in many Greek homes, especially in the countryside, yogurt is not something you always buy from the store. It’s something you make.
Alongside homemade cheeses, spoon sweets, and fresh bread, yogurt remains one of those staples that connects people to their land, animals, and ancestry.
This recipe is inspired by that tradition.
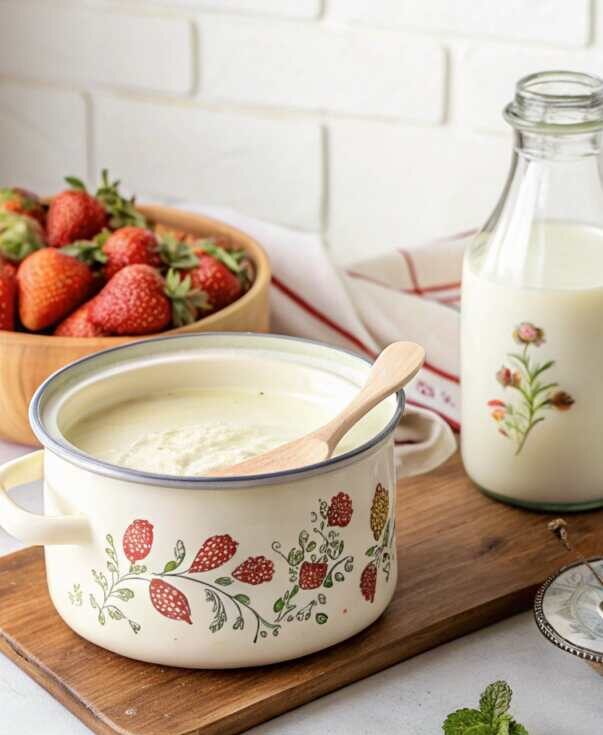
It uses a blend of cow and goat milk, just like many families in Greece do—balancing the sweetness of cow’s milk with the earthy depth of goat’s milk for a more authentic, nourishing flavor.
Why Make Yogurt at Home?
It’s fresher and healthier than store-bought.You control the ingredients—no thickeners, no preservatives.It’s rich in probiotics, which support digestion and overall gut health.
And honestly… it just tastes better. Especially when you’ve made it yourself.
Crockery & ingredients love using—find them all here: My Mediterranean Greek Pantry
1 liter full-fat milk
1 liter fresh goat milk
2 tablespoons plain yogurt with live cultures (as a starter
Directions
Step 1: Boil the Milk
Pour the milk into a heavy-bottomed pot and bring it to a full boil over high heat, stirring constantly with a wooden spoon so it doesn’t scorch at the bottom. You’ll know it’s ready when it starts to foam and release a lovely aroma.
Once it reaches a boil, lower the heat and let it simmer for about 20 minutes, stirring occasionally. This helps reduce the water content and creates a thicker yogurt. Turn off the heat and move the pot off the burner to cool.
Step 2: Prepare the Yogurt Starter
Take one ladle of the hot milk and transfer it to a small bowl. Let it cool until it’s just warm to the touch. Then add 2 tablespoons of plain yogurt (with live cultures) and stir very well until smooth and lump-free. This mixture is your yogurt starter.
Step 3: Choose Your Style – With or Without a Skin (Petsa)
For Yogurt with Petsa (Creamy Top Layer)
Pour the hot milk gently into two 1-kg clay yogurt pots.
As it cools, a creamy layer (petsa) will naturally form on top.
Let the milk cool down to 44°C (111°F). If you don’t have a thermometer, gently lift the skin with a fork and dip your pinky into the milk.
If you can count to 10 comfortably, the temperature is just right. Add half of the yogurt starter to each pot under the skin, give it a gentle swirl on the side with a stick or skewer, and carefully reposition the skin back on top.
For Yogurt Without Petsa
Let the milk cool in the pot. Once the skin forms, remove it—it contains most of the milk’s fat. When the temperature is right (as above), mix in the yogurt starter and stir thoroughly. Then pour the mixture into clay pots or glass containers.
Step 4: Let the Yogurt Set
Place the containers in a warm environment.
A good method is inside your oven:
Set your oven to 40°C (104°F) and place the yogurt pots inside on a baking rack.
Turn off the oven after 1–2 hours, depending on how cold your kitchen is, and cover the pots with a thick kitchen towel.
Do not move or disturb them.After about 3 hours, the yogurt will be soft and sweet.
The longer it stays, the more tangy it becomes. At 8 hours, it’s ready.
Step 5: Chill and Store
Take the pots out of the oven and loosely cover them with parchment paper.
Refrigerate for at least 8 hours. Your yogurt is now ready—cool, thick, and full of probiotics.
It can be stored for up to 10 days, sometimes even longer. After the first spoonful, you might notice it releases some whey next time you open it.
That’s perfectly natural and makes it even more hydrating.
A Little Tip from the Greek Villages
In the old days, they’d wrap the clay pots in thick blankets and leave them near the fireplace.
Today, we use the oven—but the feeling is the same. Slow, peaceful, nourishing.—Try it once, and you’ll never go back to store-bought.
This is yogurt the way it was meant to be—pure, alive, and made with your own hands.
From my Greek kitchen to yours…


Leave a Reply